I’m frustrated because I’m taking so long. working in fits and starts. A little bit every day, but still not enough.
Deep breath.
Please, unclench your jaw / Relax your shoulders, gently / Take a slow, deep breath. / How long has it been since you / Last allowed yourself some peace?
Back to it.
I’ve been listening to SCA classes on YouTube while stitching. Today I’ve listened to Introduction to Documentation and How to Research Like an Academic. And I’ve discovered that the East Kingdom’s YouTube channel has some lovely playlists set up, so I’m going to listen to one of those (made up of hours of classes) next. The webministry is doing an amazing job.
I’ve been reassessing my timeline, and I have a few more days before I think things start to get too tight for comfort.
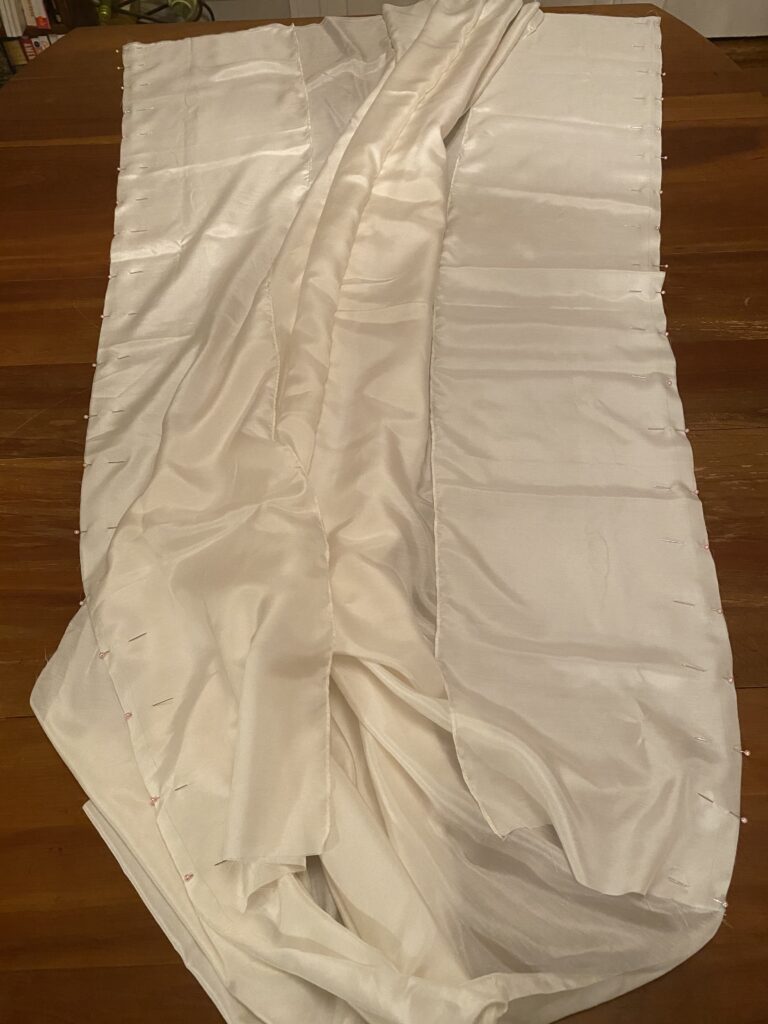
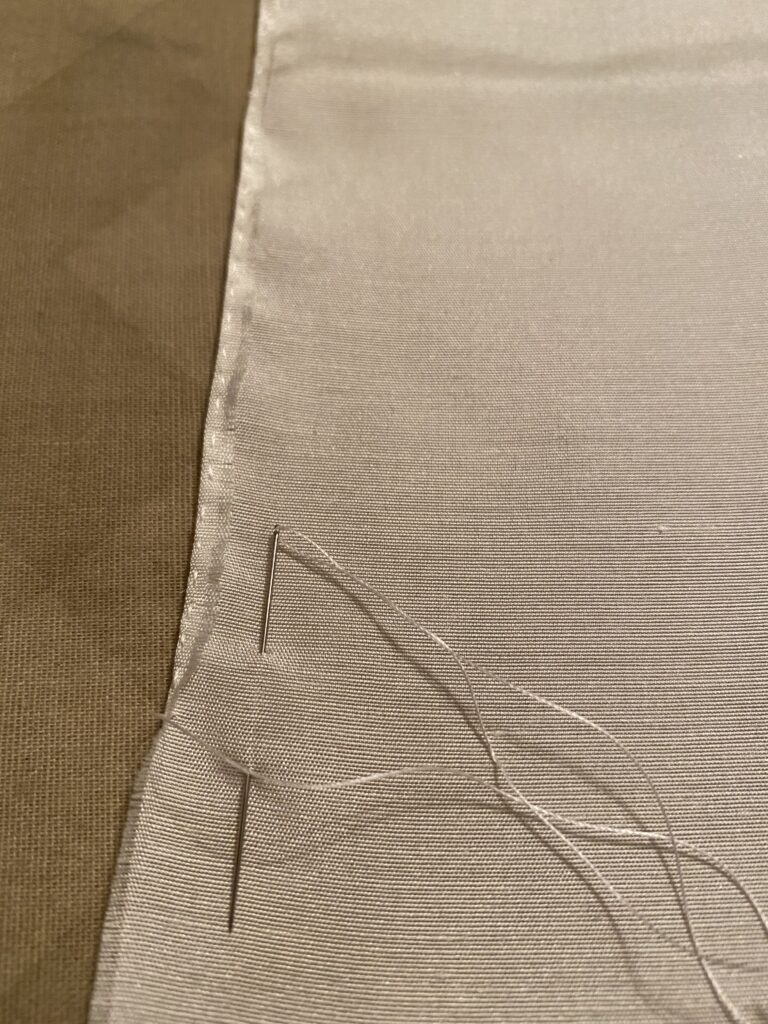
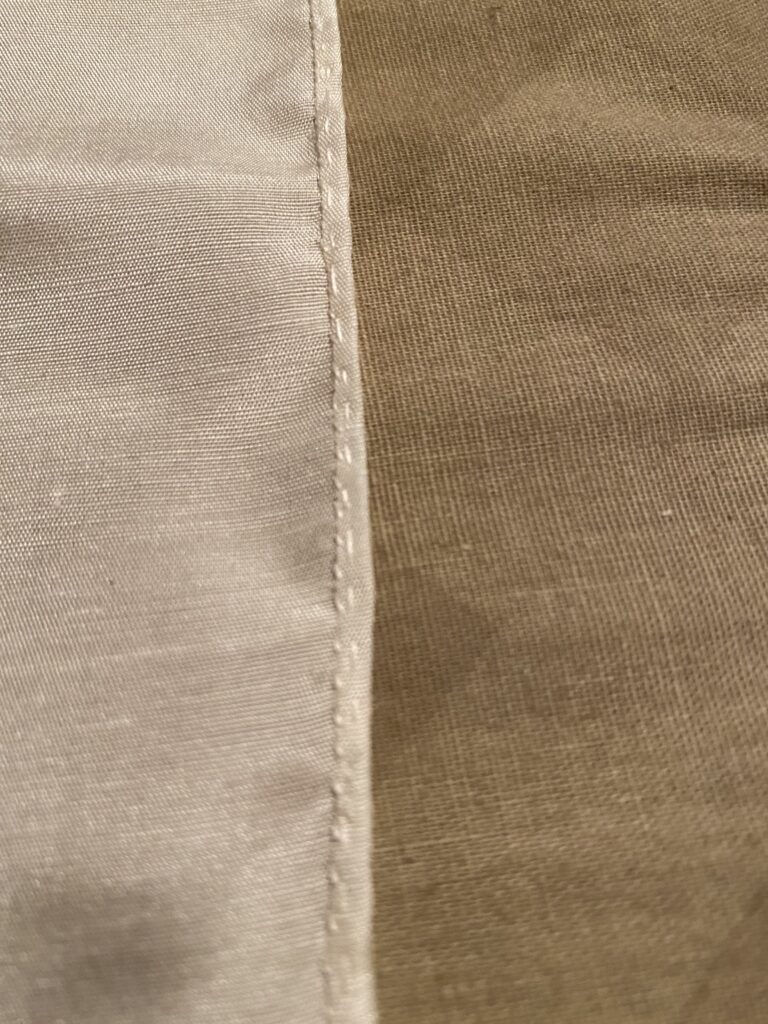
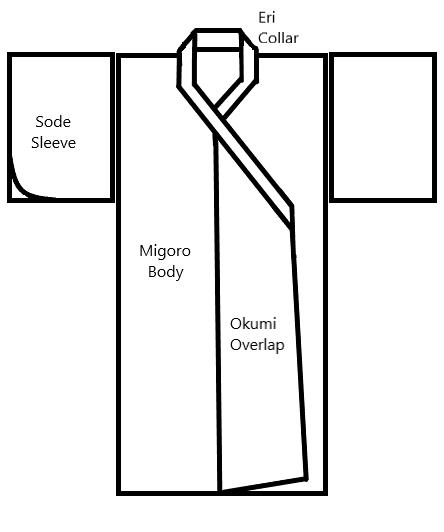
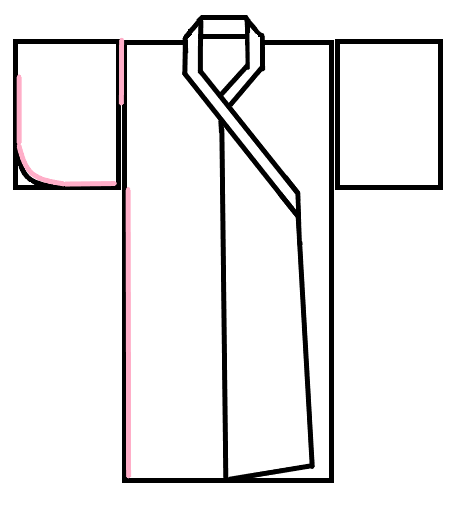
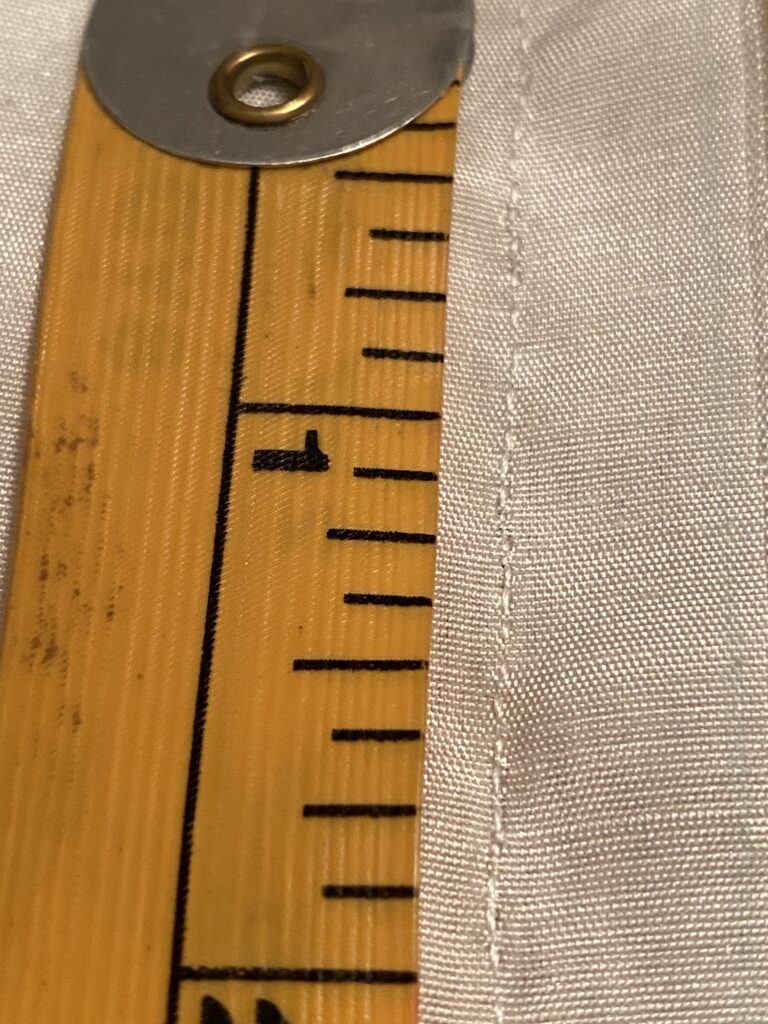
So far today I’ve just about finished the first step, folding over and then using a running stitch to secure the fold. I decided to use that simple method as my seam finish for the sleeves. I’m going to try the “triangle fold” method from the pattern instructions for the okumi seams. I think I understand it now.
Deep breath. And back to it.