Mostly. I finished editing the script. I’ll film in the morning.
Once I have all the pictures taken and the video shot (and edited and turned in) I’ll clean up the project remnants that are all over the place.
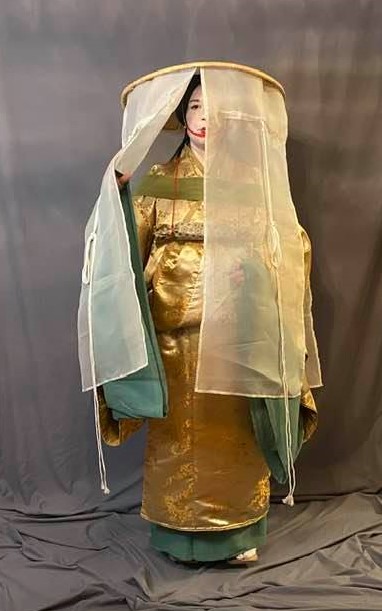
So the question becomes, do I revamp the inaccuracies in the project so it’s ready to go when it is time to wear it, or pack it away to work on something else? There won’t be any SCA events that I can wear it to until at least June, let’s be honest, large gatherings of people probably won’t happen this year either. So there is time. I also intend to make a couple other items to round out the outfit appropriately. But no hard deadlines. I’m kind of done with deadlines for a while. Maybe the alterations and new items can be my small sewing projects that exist to be worked on while watching television.
Having completed A great task I find myself Wanting something new
The focus of adventure And thrill of exploration
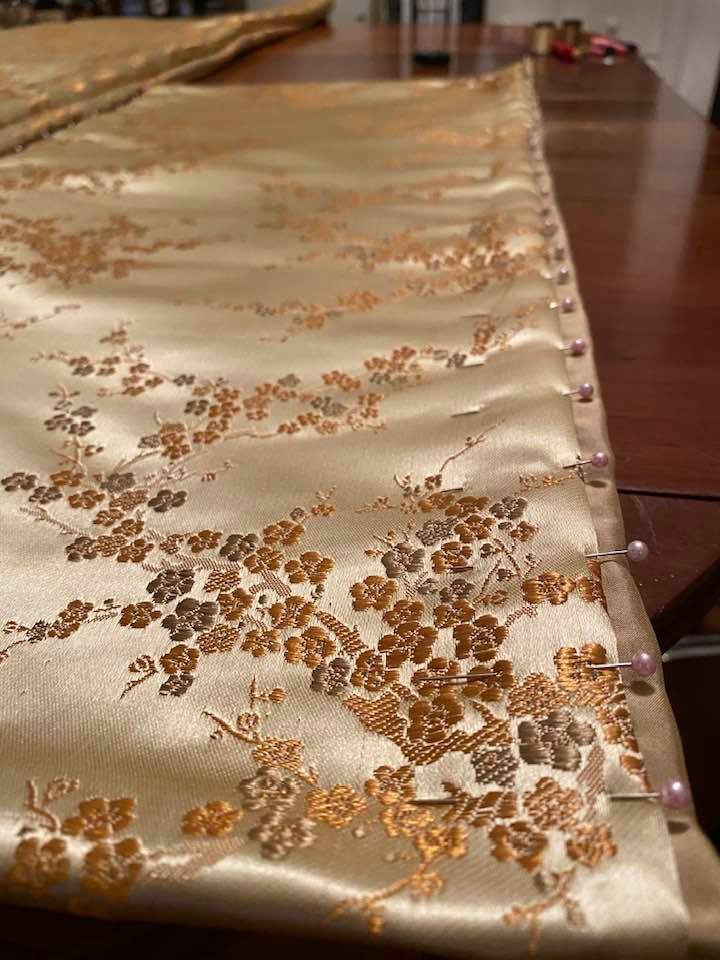
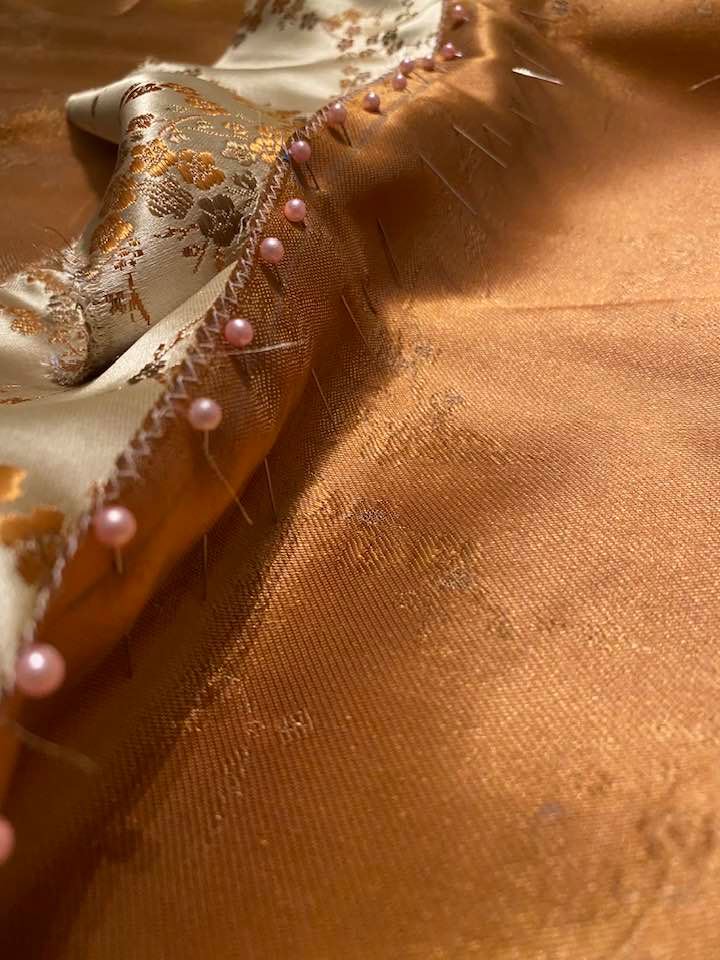
But there is this dark gold dragon brocade that is begging to be a hitatare kamishimo. That’s a men’s outfit with matching top and bottom. And there’s a yellow chrysanthemum brocade that needs to be turned into a karaginu that’s a “Chinese jacket” worn as the top most layer in karaginu mo or formal court ensemble for ladies. I also happen to have the fabric already cut out for a white uwagi too…so many projects!
I also need to decide how to wrap up daily blogging. It’s been a wonderful exercise, but without an active project, I don’t have much to say. I could simply post my tanka.
There is a large project I set aside in order to complete the travelling outfit, and I am eager to pick that back up.
But two priorities are learning Japanese and getting into fighting shape. I’d like to fight in the SCA, so it’s time to get serious about it which means training every day. At least learning to count in Japanese will be easy as I count blows on my pell (a training dummy).
Lots of things to ponder as I wrap up the travelling outfit project for now.