Home Stretch

Complete save one sleeve I step back and admire it Could I be more pleased?

The flaws quickly forgotten As its beauty melts my stress.

I finished it! The uwagi is complete!

I’d love to take some time to celebrate, but that has to wait until everything is turned in.

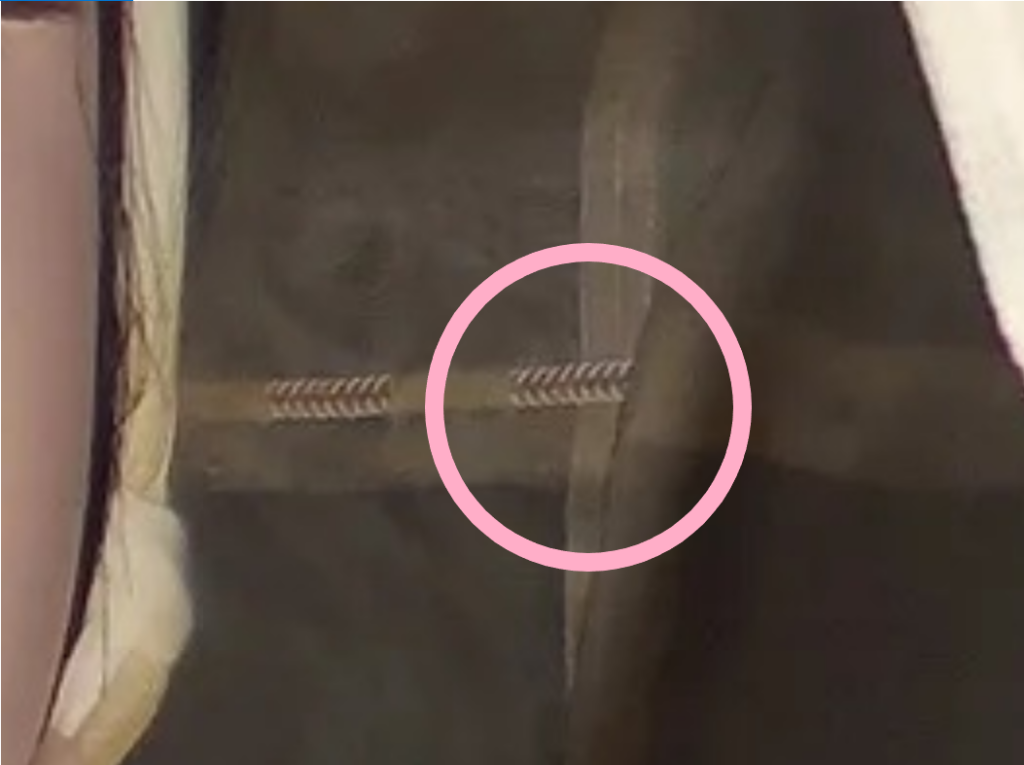
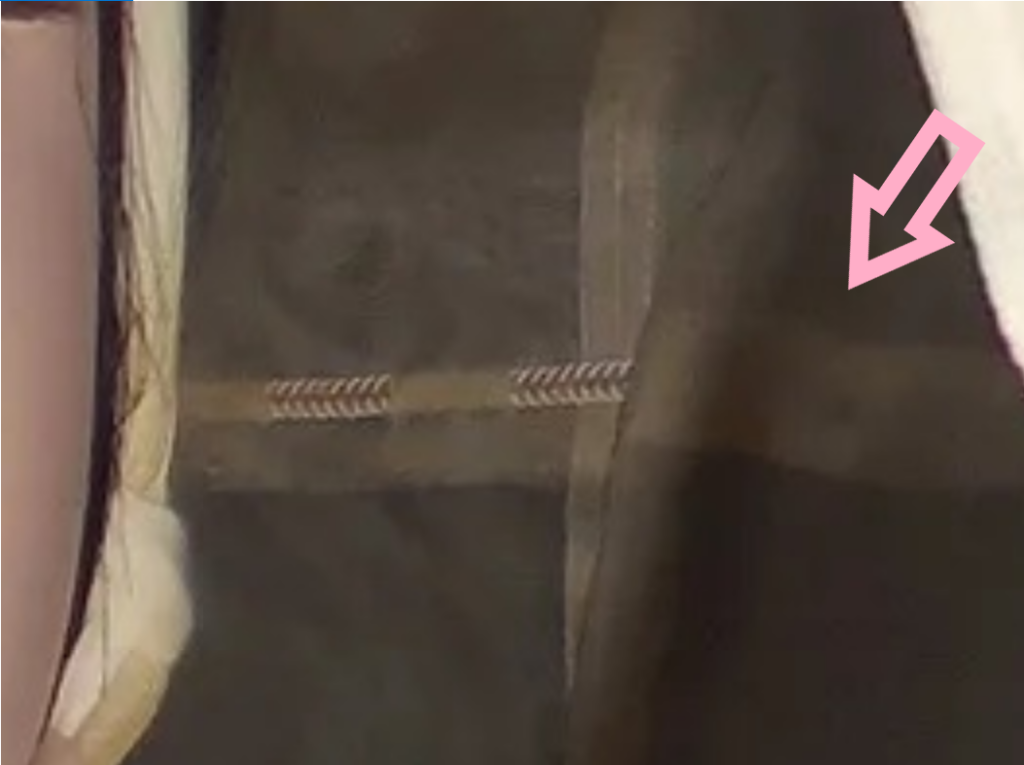
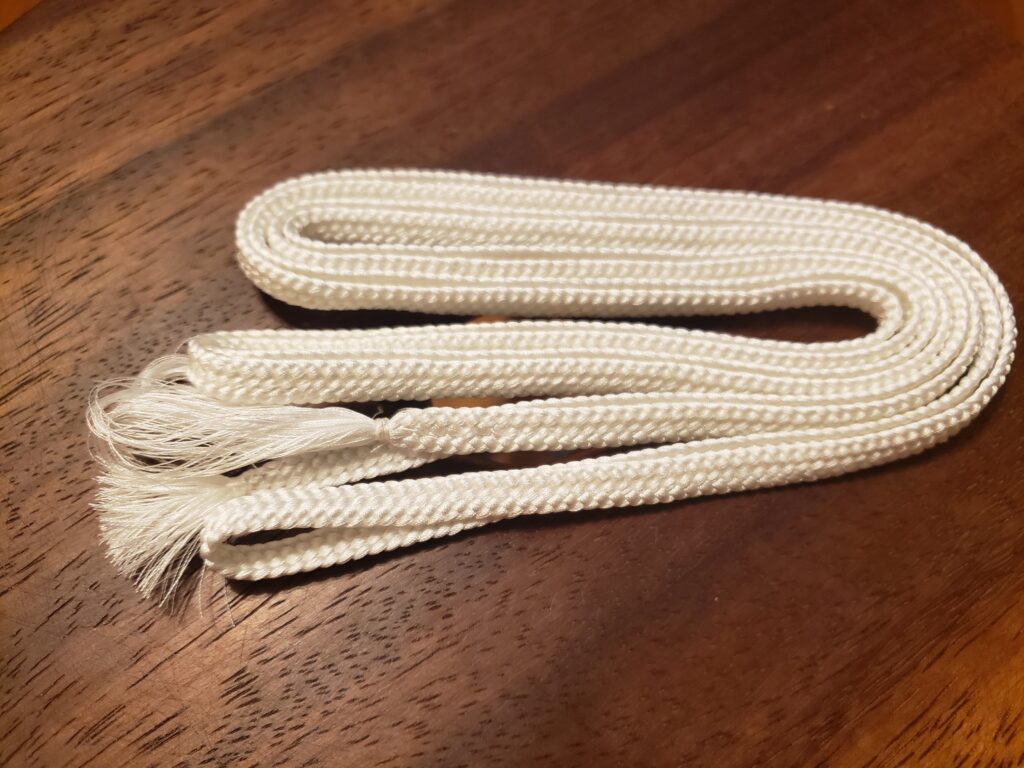
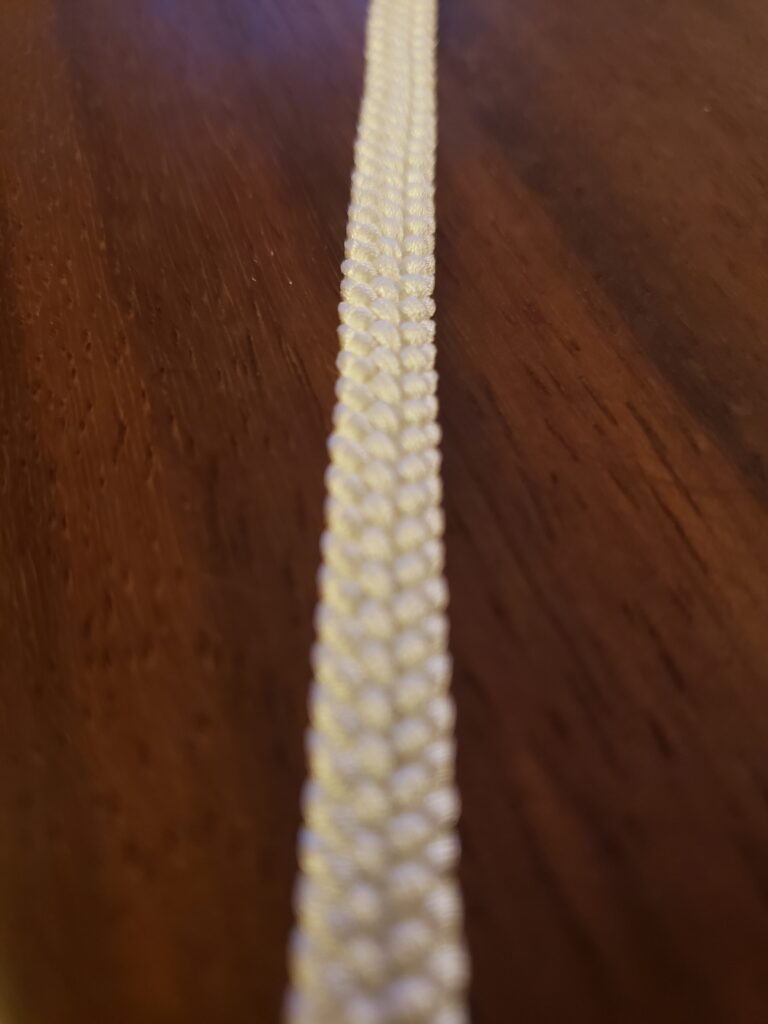
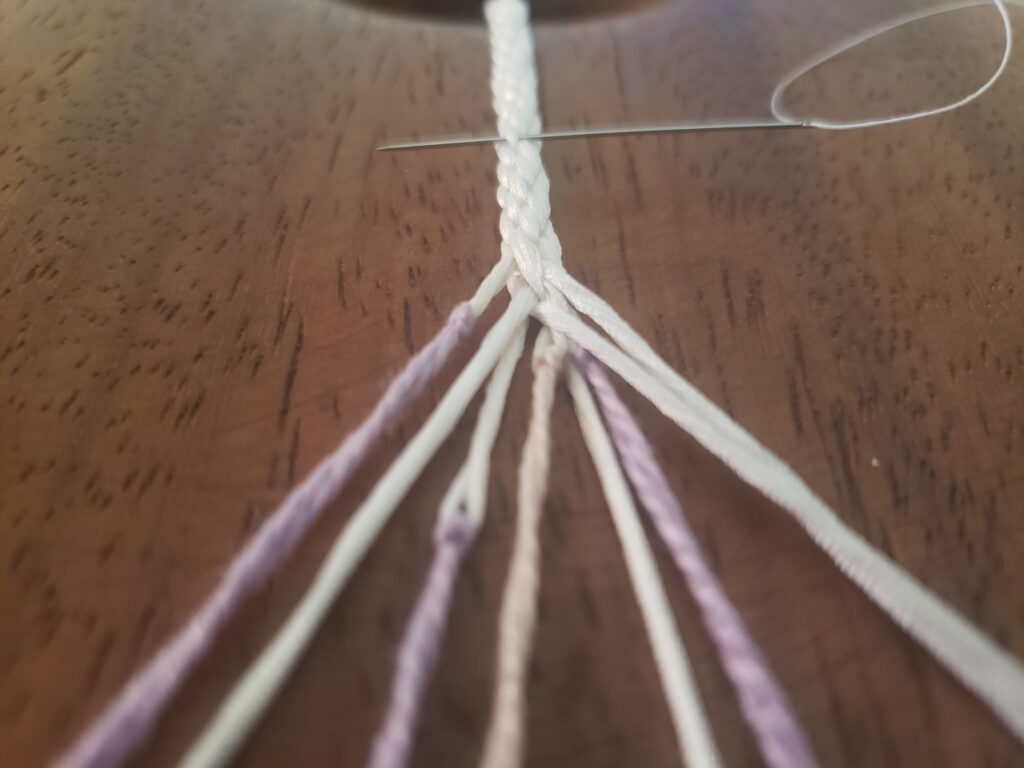
I’ve returned to the hat for it’s final assembly. First I removed the old veil panel. I’m currently trimming the kazari-himo or decorative cords to the same length.

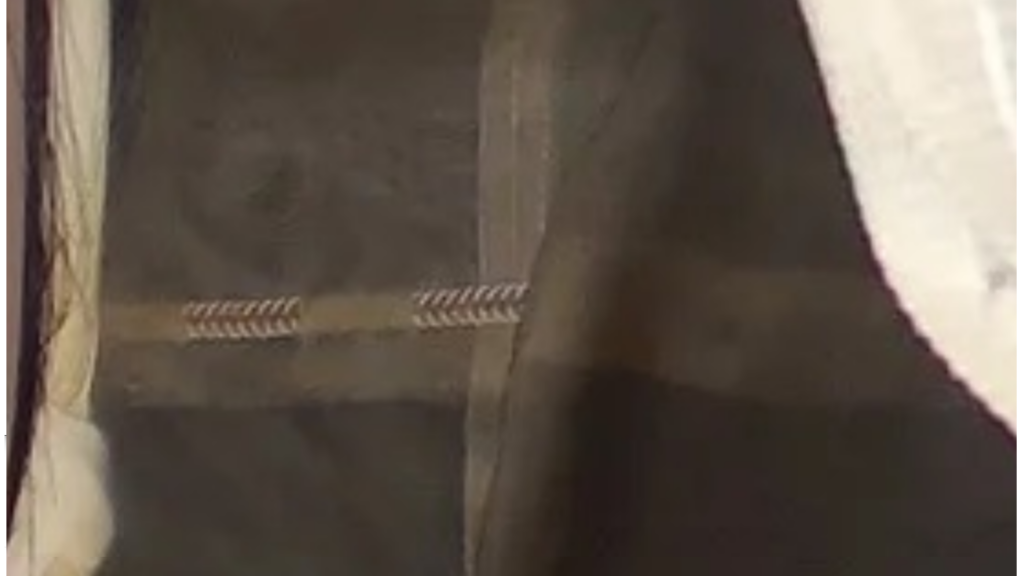
Once I’ve finished that (I’ve got one left) I have to contemplate how I’m actually slitting the veil panels to weave the cords through. I think I’m going to go with exactly what I can see in that zoomed in photo, a central outlet so the cords hang down the center of the veil panel and a slit to allow both cords to pass to the back of the veil at the seams of the panels. The majority of the time the cords are encased within the channel created by the stitched down overlap.

After cords are adjusted, I’ll stitch the entire completed veil and cord assembly to the hat. Crud, A curved needle would make that a whole lot easier. I don’t think I have one…yeah, I looked, no dice. I may heat up a needle and take some tools to it and shape my own curved needle. I’ve done it once before. That 15 minutes or less spent making that needle bent will save me twice that time. Yup. I guess that’s a thing I’ll do after finishing that cord.

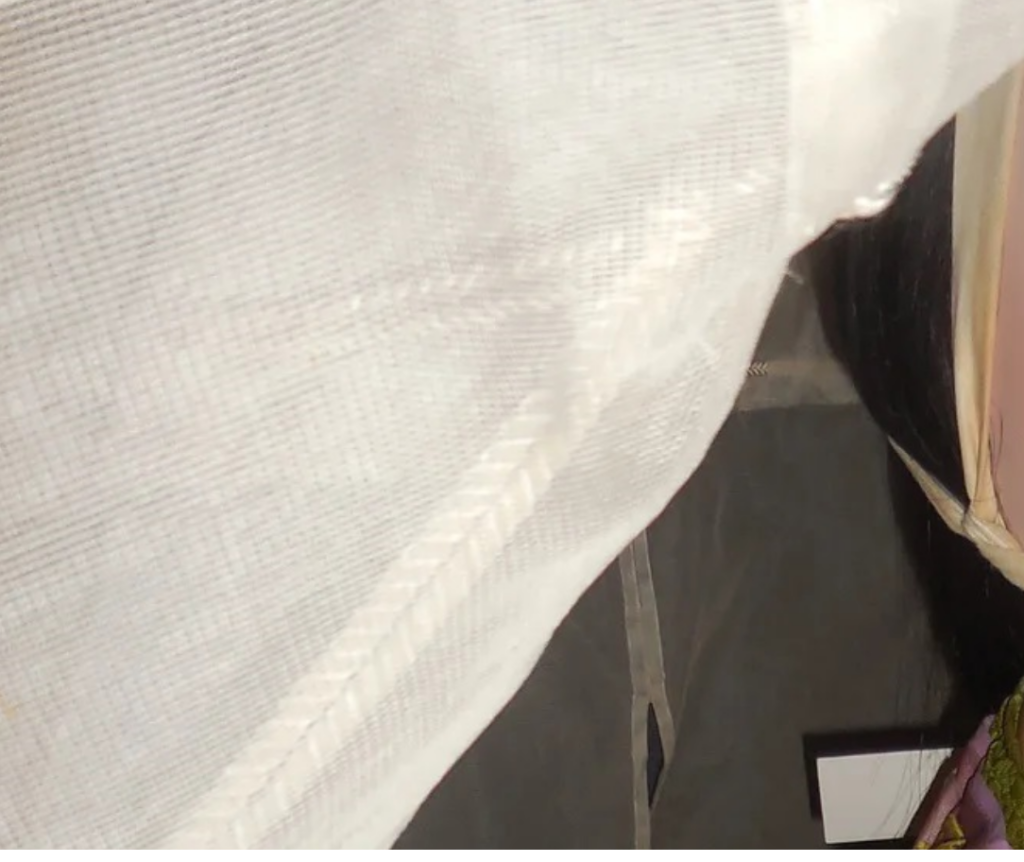
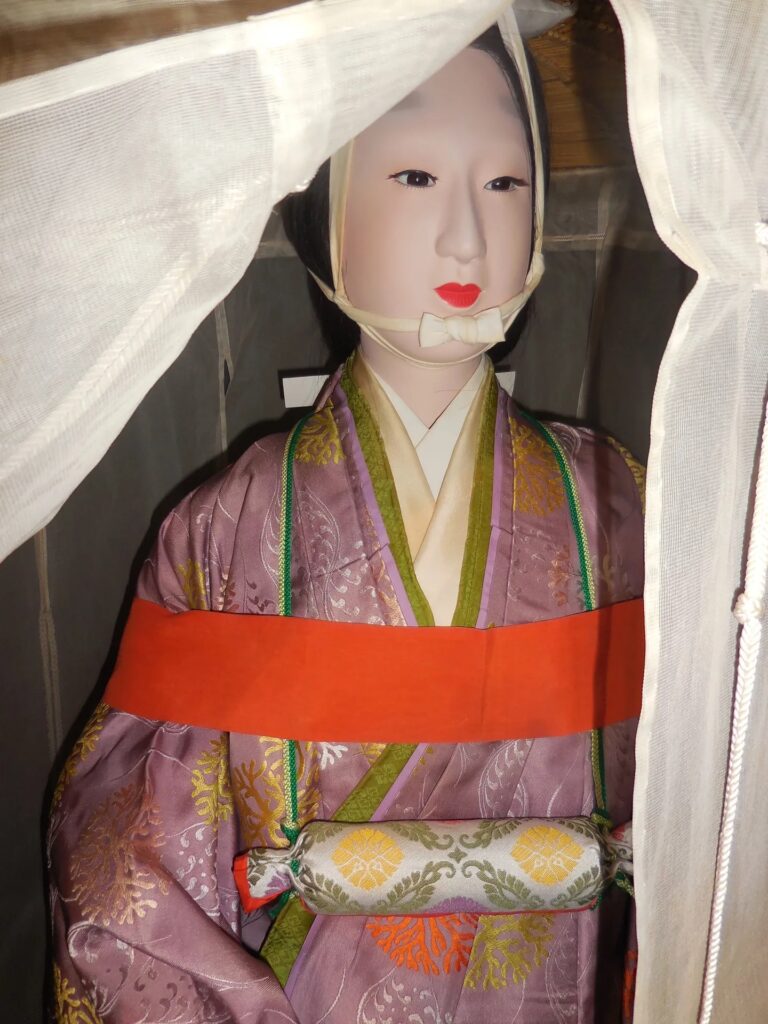
Once the mushi no tareginu or veil panels are attached it’s all over but the pictures. I’m getting dressed and taking pictures as early as I can to give more time for finalizing submission materials. Crown’s A&S is only accepting 3 images, so I’ve planned out the 3 shots I want. My partner is going to play photog. We have plans for shooting both outside and inside and choosing the best. I’ll grab some extra stuff and some video as well.

After going over the documentation one more time, I’ll upload everything and send it off.

Here’s a cool bit, they’re giving us a couple extra days for the optional video! This means I can shoot my video on Monday and then have two days to edit it. I’m super stoked about the extra time, my video will be so much better than if I had rushed it tomorrow with the other materials.

A Little Further Along

Finished felling down the fold over for the mushi no tareginu (curtains).

Still to go on the hat – trim the cords to the same length, cut the slits, weave cords through and knot them, remove old curtains from hat, attach new curtains to hat.

That’s right. This part of the project is a make-over. There’s currently a rectangle of cotton scrim sewn to the hat. It’s highly wrinkled and has discolored from age. I’m immensely happy to upgrade it.

But I think I’ll leave the hat for now and start sewing the kosode. I’ll double check seam allowances and get started first thing tomorrow.

I’d be more concerned about falling behind (currently at low levels), but I’m about to have a whole lot more free time. 4 work meetings left. Then it’s full concentration on this project.

25 Days In

Finally finished ironing down the fold on the migoro (body panel) for the false back seam of the kosode. It wouldn’t have taken so long if I wasn’t filming it.

Yeah, it’s a kind of weird thing to film, but I’m also working on documenting this project via video. I needed (wanted) the small shot of it being ironed. 20 minutes of set up for a one minute clip. I hope to be able to find the time to edit along the way, but if I end up doing all the video editing at the very end, so be it.

A thing I need to work on is not postponing work on a piece of the project because I needed (wanted) to film and have lost the light. I had other things to do, but it’s something I just want to be careful about.

If anyone is wondering what I’m going to do with the flat braid, I’ll shift it to the next project as it is perfect for the sleeve ties on a hitatare kamishimo (men’s outfit in which the top, called a hitatare matches the hakama or pleated trousers). I’ll have to order more silk thread to weave a matching cord and the round cords for the chest ties, but that’s a problem for late January/early February.

With respect to weaving the kazari-himo (decorative cords) through the mushi no tareginu (curtains), I was able to see in the super zoomed in photo that the cords overlay the seam that joins panels together.

Pink outline of a circle around a cord woven through fabric laying on the viewer's side of the fabric on top of a seam where to pieces are joined.
Circle indicates where cord(s) pass over the seam. This is on the inside of the mushi no tareginu (curtains).

So I’ll make sure to have the weaving pop out at the right place, and I’ll join the cords together with a few stitches. It’ll be historically adequate. I still feel good about it. I am curious as to why I don’t see cords woven through above the folded down seam in this part of the image though

Pink arrow pointing to a lack of cord woven through the fabric that is visible further left in the image.
Arrow points to the lack of visible cord

This is why it’s historically adequate and not historically accurate. I’m doing my best with zoomed in images.

A Plan for Kazari-himo

I did a quick google search to find more images and hit a near jack pot. I’ve done the same search before, but was looking for copyright free images that time.

They are most definitely NOT attached to the hat. I don’t care what the line drawing has on it. The line drawing is wrong.

The Costume Museum mannequin of a lady wearing a travelling outfit and ichime gasa with mushi no tareginu or hemp veiled sedge hat. The mannequin stands with her hands outstretched parting the sheer curtains hanging down from the very wide brimmed straw hat.
Woman in travelling outfit with ichime gasa

The kazari-himo (decorative cords) are woven through the panel, popping out at the halfway mark.

This image also lets me see the lady’s obi poking out beneath the fold of the garments, so we know the knot is tied in front. The kake-mamori amulet case, the rolled item around her neck beneath the kake-obi the red belt across her shoulders is worn under the kake-obi. You can see the cords that the kake-mamori is hanging from passing under the red.

We can also see that pattern matching on the garments is not a thing. This isn’t to say that it wasn’t done, just that it is acceptable to not. This makes me happy.

And while we’re picking this image apart, I’m confused by her feet. Where are her tabi socks? Was it really appropriate to wear zori (shoes) without tabi?

So now my question is – how do I best recreate what I’m seeing in this image? What I thought was a chevron pattern in a flat braid is likely two pieces of round braid. There is a little bit of a loop on the left hand side, so I’m confident enough in the two round braid idea. It also explains the weirdness I was seeing on the left hand side of my super zoomed in shot.

My first idea is to lay out the cord like the outline of a capital “T”. The arms of the T would be loops. Each panel gets a cord woven though it like that. The tips of the T arm loops will be tacked down to the panel.

I feel good about this plan. Like good enough to cut little slits in finished panels kind of good.

I also think this image will serve as my main presentation image. A side by side with it and me in the finished outfit in the same pose will look fabulous. The side by side was a bit of advice from a commenter on my first A&S display in September.

Hooray for finding just what you need on the internet!

Finished in No Time

I really thought the flat braid would take a little longer to complete. I knew I’d finish it today, but I thought it would have taken another couple hours. Sometimes it’s pleasant to be wrong.

It finished out at 78 inches, so will need cutting down. You may notice that it looks a little bit like a shoelace.

A bundle of flat woven braid folded in half repeatedly The braid texture is similar to flat shoelace braid.
Finished flat braid

The components for the hat are now complete.

I need to fold over the top edge of the mushi no tareginu and stitch it. The kazari-himo (deocrative cords) need to be tidied up in length, though I could simply tie them up…

Next is whether or not to cut the slits to weave the flat braid through the “curtains.” I’m torn on this. As much as the idea of experimental archeology excites me, I’m just not convinced I have quite enough research to move forward. Research, ha! I have one highly zoomed in photo. I have no idea how it is secured on either end. I know something was woven through though, at least in this example. All of the other images have no indication of a flat braid, or anything for that matter, woven through. But they are all slightly later period (past 1200 or so).

After that difficult decision, the mushi no tareginu and kazari-himo will be attached to the hat. I’ll consult a Chinese decorative knot book and tie up the cords in the large loops shown in the Costume Museum image.

I’m going to sit on most of that though and let the question about the flat braid percolate. Maybe I’ll see if I can find any other images…

I’m currently satisfied with my progress.

Tomorrow is kososde day.

Beginning the Flat Braid

8 tama are wound.

The math said I would need 100 inch strands to get 70 inches of braided cord. I only need 64 inches. I did the math twice more to be sure. And I still erred on the side of caution and set the sawhorses at 110 inches apart. I would rather cut the cord down than find I’m short of the mark.

I’m still a little conflicted about weaving this cord through the mushi no tareginu (hat curtains). Making those slits in the finished fabric wigs me out possibly more than the first snip into expensive fabric because these panels are now complete. If I mess them up, I have to start over, and I don’t have the time or money to do that.

Enough thinking. Now, we weave!

And there are early results.

A white braided cord runs top to bottom, bisecting the image. The cord is an 8 strand flat braid.
8 strand flat braid.

It’s a little too narrow. Only 1/4 inch, I had wanted 3/8. I wanted to increase the threads per strand as I was afraid it would be too narrow, but I did not have enough silk (or anything else for that matter). It doesn’t have the exact chevron pattern from the blown up image. It is however, the best I can do without further research. 17 inches and counting…

Tension

One of the reasons I leapt into the Calontir Clothing Challenge was to give me something to focus on other than my grief. I had just lost my darling animal companion, a yellow fronted amazon parrot named Loretto. He was my world.

And now I find myself thrust into the position of shoving more grief onto this project. I’ve lost a job I love, the best I’ve ever had. My industry is dying. Theatre as we knew it is in a death scene. So I’m also mourning my career to some extent. Maybe things will be better after the pandemic. If theatre comes back, the job I love might be mine again. There is a tiny glimmer of hope.

And I’m going to cling to that and keep working on this project. I know it’s a lot to put on a project, but here we are.

I stayed up way too late last night weaving, so this morning I started at 83 inches. I’m not kidding around about throwing myself into this project.

I’ve been dealing with what seem to be more tension issues with individual threads within strands being off. The finished product doesn’t appear to have been affected. I did top out at a blazing 37 inches per hour. I certainly feel it in my shoulders.

I will need to trim up the kazari-himo, decorative cords. The first came in at 166 inches, second at 174, third at 172 and the fourth finished out at 181 inches. This last cord also finished a bit better than the rest. 4 of 8 strands terminated within an half inch of each other. My overall tension was better. How about that?

The Last of the Thread

It arrived today! My last order of silk thread.

I was a little worried that it wouldn’t show up today and I would be forced to cut out the kosode to maintain daily tangible progress. Research is great, results count. I may be advancing some of my research as I go on this project, but as I said earlier this month, I did my research first.

8 fully wound tama are now sitting on the table next to my marudai.

I need to finish this last kazari-himo (decorative braid) and move on to the flat braid as quickly as I can. To keep up with the production schedule, I need to complete one project every three weeks. Hat, kosode, hitoe, and uwagi (lined, counts as 2). I don’t know if I’ll be entirely finished with the hat by Wednesday night, but I’m going to try.

Time to warp the marudai and set to weaving for a little while before bed…

Curtains

I didn’t feel up to crawling around in the floor cutting up silk today, so I’ve been spending time staring at zoomed in images.

A flat braid with a chevron pattern is visible woven through the sheer fabric. I know that the sleeve ends of hitatare have a flat decorative braid run through them, using either tiny loops or slits in the fabric. Hitatare – a men’s upper body garment with decorative cords at sleeve ends and attached to the collar frequently worn with matching hakama (pleated pants) and one garment in my next big clothing project after C3 so stay tuned for that.

On the other side, still zoomed in, are what appear to be the kazari-himo tied off to the flat braid?

As in they don’t attach to the hat? Oh dear. This is what I get for saying I’m going to finish the accessory layer first. Looks like I need to stitch the individual panels to each other a bit further down as well.

It makes sense to have something hanging over the panels to help hold them down in a light breeze. A built in cord that the decorative cords hang from would absolutely do this well. I’m curious about the sheer fabric holding the weight of the kazari-himo from the flat braid. I have some scrap of the silk gazar I used for the mushi no tareginu. I could do a test. The slits in the fabric are only cut, and at that position would be through 2 layers of fabric, just above the fold over hem. I’d guess that the braid width is about 3/8 inch wide.

Do you know what this means? More silk thread. I can’t order any more, so I’ll have to make do with the extra spool I ordered this last time.

I wish I could just go to Kyoto and look at the thing in person! I may keep the kazari-himo (decorative cords) attached to the hat as the image is a little difficult to make out for sure. The flat braid though…that should happen. I’ve found a chevron braid in one of my kumihimo books already. It’s also an 8 strand. I’ll measure out the finished mushi no tareginu (hat curtains) width, double check it against my hat circumference, and use that as my cord length.

Good news. The completed panels are slightly smaller than the outer circumference of the hat. So they fit and I didn’t screw up when I cut my panels. Hooray! My flat braid needs to be 63 inches long. I’ll aim for 70 inches to be safe. I should have enough thread. I think. The math says I have enough. Fingers crossed.

2 Weeks In

Tonight marks 2 weeks of the Calontir Clothing Challenge.

I’m almost done with my Accessory Layer for C3. I’ve finished up the stitching on the last mushi no tareginu (hat curtains) panel. The 4 panels are also now attached to each other. All that’s left is to fold the top over (potentially stitch it) and attach them to the hat… 3 of 4 decorative cords are complete. 4 tama are wound. More silk thread (a spool more than I need) is on the way.

The silk thread for the uwagi (uppermost garment) lining arrived from Britex. One of the colors will work beautifully. I’m relieved.

Has anyone else noticed that I have deviated from the production schedule? Eh. I can’t remember how in depth I got about it. Well, I’m revisiting that tonight as it is more than obvious that I chose to finish the accessory layer rather than undergarment layer first. Oh well.

Here’s a lovely inspiration image:

Woman in ichime gasa with mushi no tareginu. (A rush hat with a very large brim circumference that has sheer curtains and decorative cords hanging from it.)  at the Jidai Matsuri 2009
Woman in ichime gasa with mushi no tareginu. (veiled hat) at the Jidai Matsuri 2009. Wikicommons

If you look over her shoulder, under the hat, you can see that the mushi no tareginu are folded over at the top. I’m uncertain if the fold over should be stitched down or not, but I don’t see visible stitching on the outside…

Close up image of a mannequin wearing traditional Japanese dress, a travelling outfit.
Travelling Outfit from the Kyoto Costume Museum

This image on the other hand, which is of my reference outfit at the Kyoto Costume Museum, appears to not only have the fold over stitched, but it almost looks like a channel with a cord running through it. But the decorative cords attach to the hat? Is it just a wide hem? Hmm. She’s also wearing one more layer than is labeled on the line drawing. See that cream colored collar? Things to ponder while I wait on supplies and move on to the kososde.

Follow by Email
YouTube
YouTube