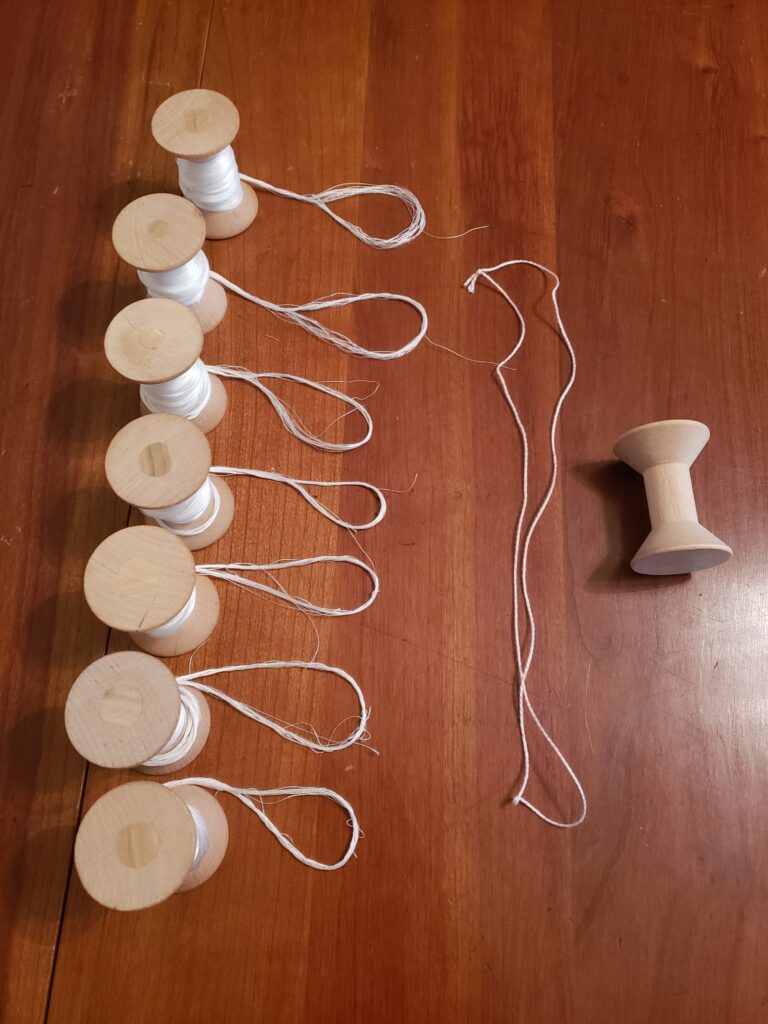
Finished reeling silk thread and winding it on tama. By reeling, I mean running thread in a loop between two sawhorses set 248 inches (20′-8″) apart 20 times for each tama. I’ve learned it’s not possible to keep the tension even. (Problem 1) This leads me to believe this would have been done in shorter segments that were then put together. More research is required.

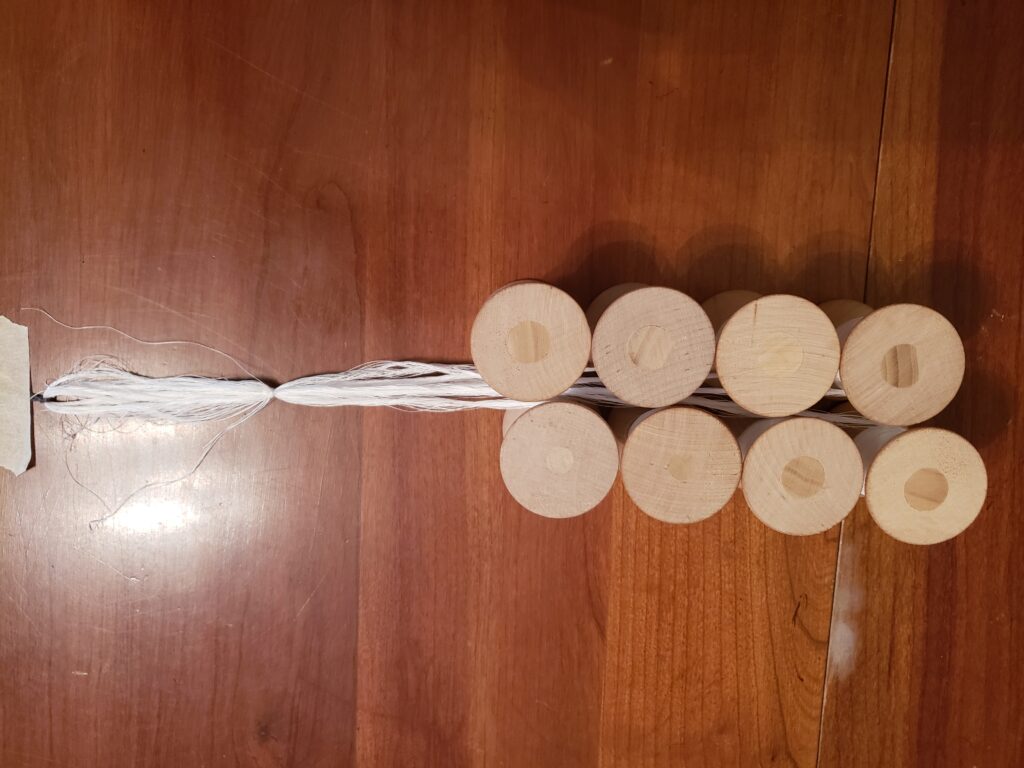
So not only is it impossible to keep the thread tension even while reeling, it’s also impossible to wind the strand onto the tama with even tension. (Problem 2) And as you can see from the above photo, there are also the cut ends to deal with further complicating the tension. (Problem 3)

The looped ends of the strands are tied together with a bit of embroidery floss that is taped down. I pulled the tama taught. The strands were smoothed down and tied together using silk thread. (Problem 4)
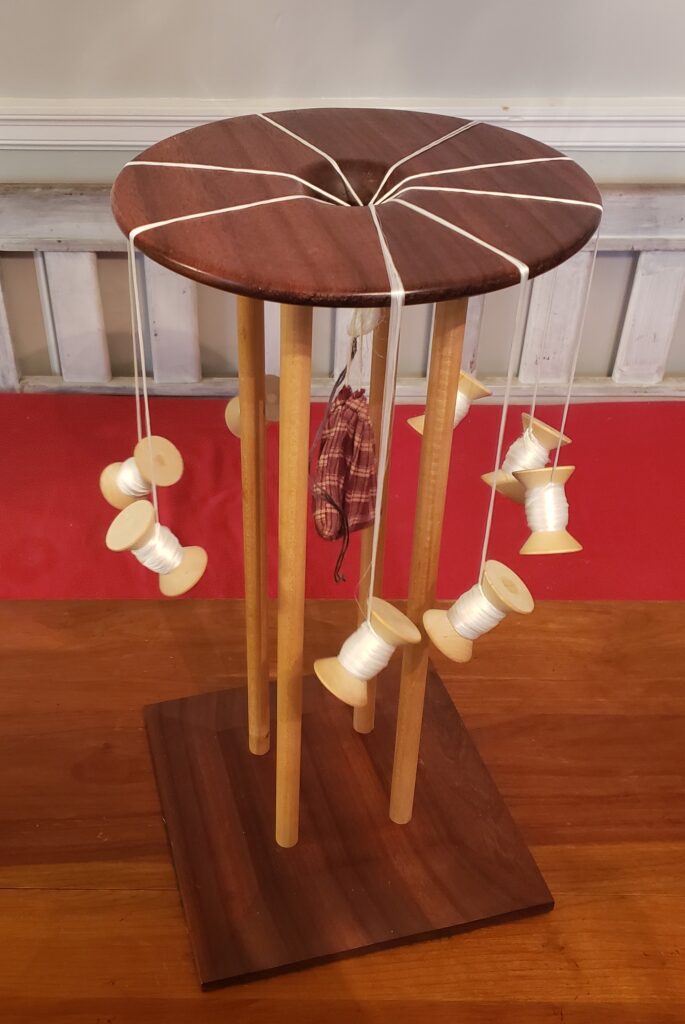
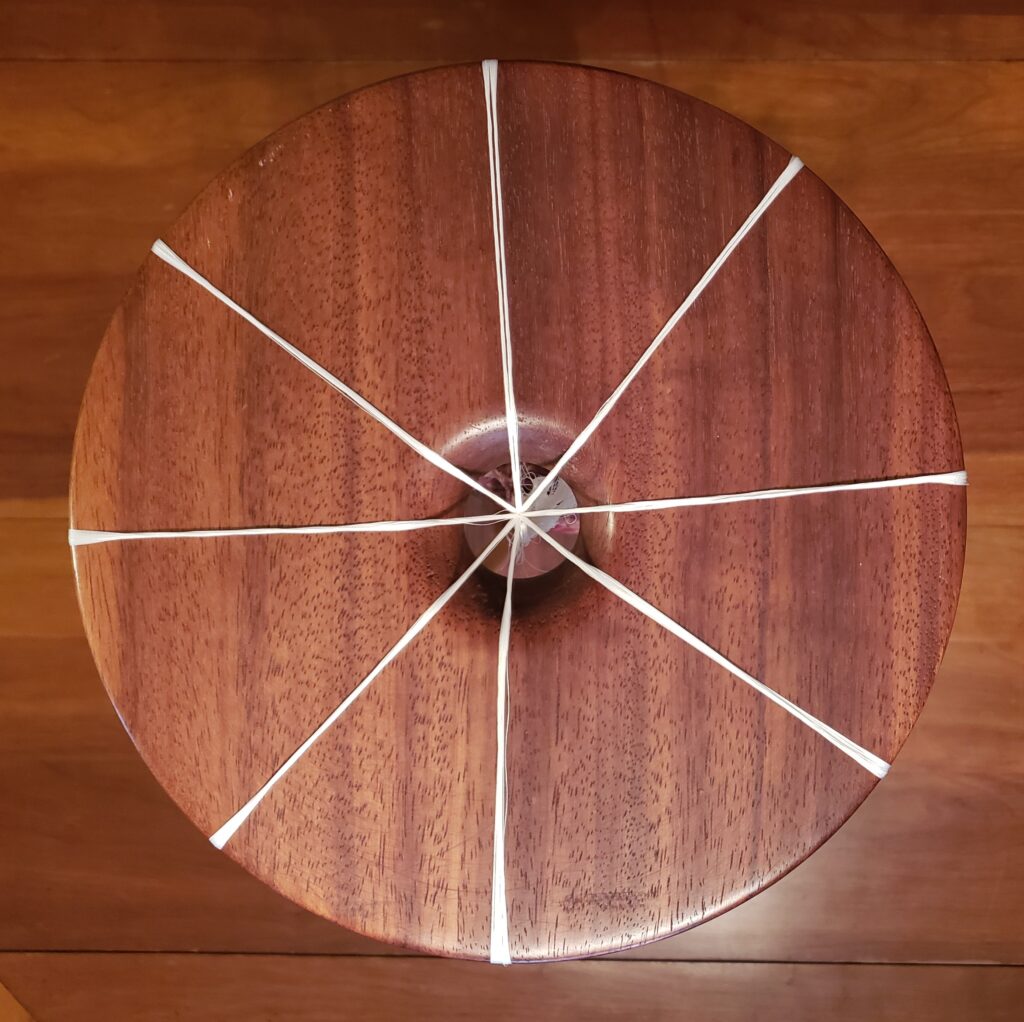
The next step is to pass the tied together end through the whole in the center of the top of the marudai. The round top is called a mirror. A small bag containing lead fishing weight (approximately half the weight of all 8 tama combined) is attached via a lark’s head knot to the strand just below where they are all connected together. The tama are then unfurled over the edge of the marudai and secured with a lovely adjustable looped knot. I tend to get two or three of these wrong to start and a tama suddenly drops to the base of the marudai.

I then adjust the height of the tama so that they are all even. Keeping your tama at an even height as you weave is important to maintaining the delicate tension held between the cord weight and the tama. Even tension means an evenly braided cord.
Once the tama are adjusted in height with the proper knot, I adjust the strands around the marudai so the start of the braid is in a neutral position.
And we’re ready to begin kazari-himo number 3.

Problems 1 through 4 mean my cords are not evenly braided. The varying lengths of remnant strands when I finish weaving are a testament to it. And that’s okay. I am not a master of this art. I did my best with the tension. It will result in a perfectly usable cord, just like the last 2 times. And I can only do my best and learn so that maybe next time is better.
